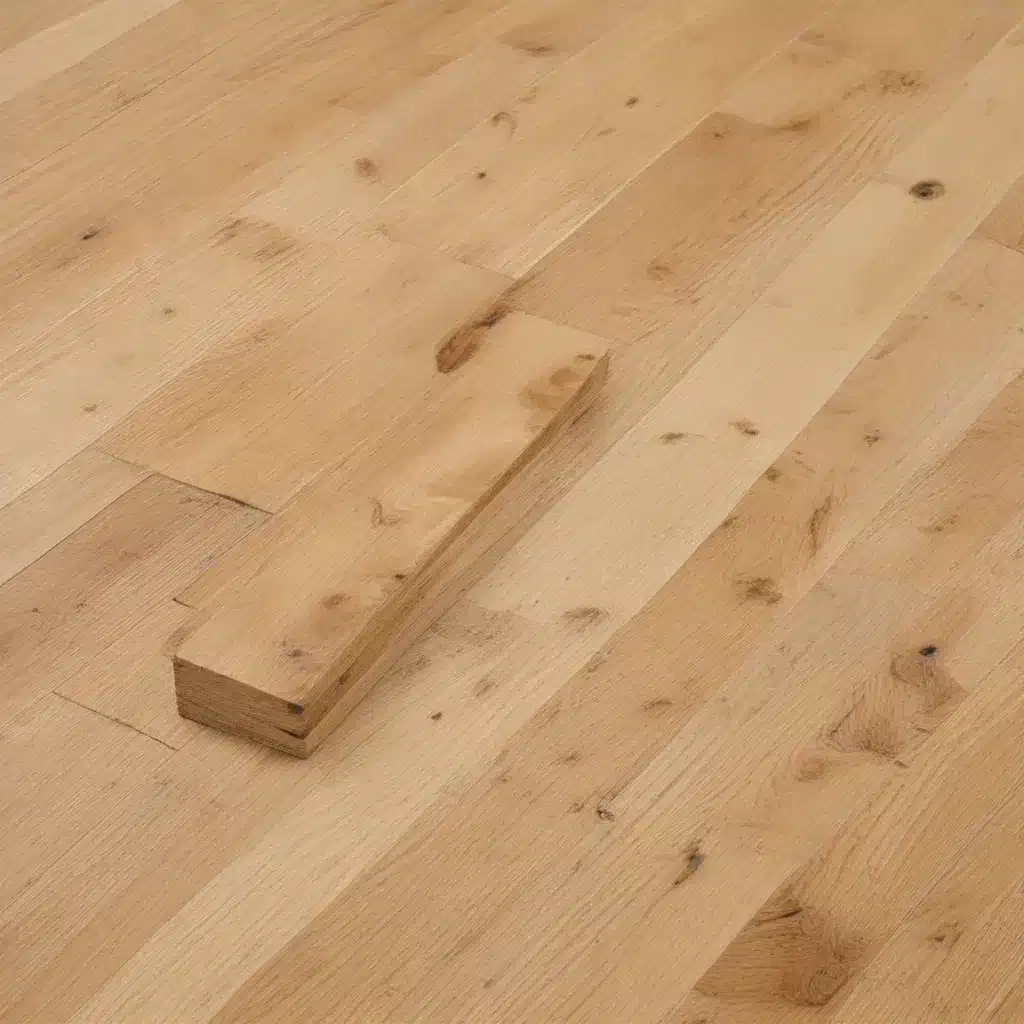
Transitioning Oak Floors from Room to Room
When installing oak flooring throughout a home, one key consideration is how to transition between rooms and spaces. Maintaining a cohesive, flowing look is important, but you also need to account for expansion and contraction of the wood. Using the right transitions and trim pieces can make all the difference.
The general guidance is to avoid running oak flooring continuously from room to room without breaks. Larger open spaces require more expansion room than smaller, enclosed areas. Differences in temperature and humidity levels between rooms can also lead to uneven expansion, potentially causing buckling or gapping.
To prevent these issues, it’s best to separate the oak flooring at doorways or other logical transition points using T-molding or other trim. This allows each room to expand and contract independently, avoiding stress on the flooring. The T-molding provides a flexible joint that accommodates the movement.
“Since each room in your house will have different temp and humidity levels, the T-moulding allows each room to contract, expand, and flex independently of the others. This helps prevent warping and cracking.”
However, some homeowners prefer the seamless, uninterrupted look of continuous oak flooring. In these cases, you can still achieve the desired effect by carefully managing the expansion gaps and paying close attention to the transitions.
Mitigating Expansion Gaps
When running oak flooring continuously, leave the appropriate expansion gap between the flooring and walls, typically 1/4″ to 3/8″. This gap allows the wood to expand and contract without buckling or separating from the walls.
“In the summer when humidity is at its highest, the gap should be smaller as compared to a winter install.”
To conceal these gaps, you can use baseboards, quarter-round, or shoe molding. These trim pieces cover the expansion space while allowing the flooring to move freely. Match the stain or paint color to the flooring and walls for a cohesive look.
For doorways, you may need to undercut the door jambs to maintain the expansion gap underneath. This creates a subtle transition without visible gaps. Just be sure to measure the necessary clearance carefully, as too much of a gap can allow debris buildup.
Choosing the Right Thresholds
At entryways, you’ll need a transition piece to bridge the gap between rooms or between the oak flooring and other flooring types. Thresholds are the perfect solution, available in a variety of oak-compatible styles.
Flush wood or oak thresholds create a seamless look, while T-shaped or reducer thresholds accommodate height differences. Choose a threshold that matches the oak flooring’s thickness to maintain a level transition.
Metal or laminate thresholds can also work, but oak thresholds provide the most cohesive and natural-looking integration. Stain or finish the threshold to precisely match the oak flooring for a streamlined appearance.
Incorporating Oak Flooring Into Door Jamb Trim
Blending oak flooring with the surrounding door jamb trim requires careful planning and execution. The goal is to create a clean, continuous look without visible gaps or transitions.
Undercut Door Jambs
One of the most effective techniques is to undercut the door jambs to accommodate the oak flooring. This allows the flooring to run continuously under the jamb, creating the illusion of a flush, seamless transition.
“When undercut ting the jambs just make sure that you have the gap underneath where you can’t actually see.”
To undercut the jambs, use a jamb saw or oscillating multi-tool to remove a small amount of material from the bottom of the jamb, about 1/2″ to 3/4″. This provides the necessary clearance for the oak flooring to slide underneath without visible gaps.
Integrate Shoe Molding
Shoe molding, or quarter-round, is a popular choice for concealing the expansion gap between the oak flooring and door jamb. Install the shoe molding after the flooring is in place, mitering the corners for a clean, seamless look.
“The one thing that I always pay particular attention to is under cutting the door jambs and maintaining the gap around all the walls.”
When installing the shoe molding, be mindful of the reveal between the molding and the jamb. Aim for a consistent, even reveal throughout for the best visual effect. You can also paint or stain the shoe molding to match the oak flooring and jamb trim.
Consider Casing Molding
For a more elevated, finished appearance, you can also integrate casing molding around the door openings. Casing molding is a wider, more substantial trim piece that frames the doorway.
Install the casing molding after the oak flooring is in place, allowing it to overlap the flooring slightly. This creates a smooth, cohesive transition between the flooring and the door trim. Again, choose a casing profile and finish that complements the oak flooring.
Maintaining Seamless Transitions
Regardless of the specific techniques used, the key to achieving seamless transitions with oak flooring is attention to detail and proper installation. Measure carefully, make precise cuts, and finesse the fit and finish to create a polished, professional look.
Remember that oak floors, like any natural wood product, will experience some expansion and contraction over time. Regularly inspect transitions and trim pieces, making adjustments as needed to accommodate the wood’s movement.
By thoughtfully incorporating oak flooring thresholds, door jamb trim, and other transition elements, you can create a cohesive, high-end look throughout your home. The end result will be a beautifully integrated hardwood floor that enhances your décor and stands the test of time.
Visit https://www.oakfloorsonline.co.uk/ to explore our wide selection of premium oak flooring products and get inspired for your next project.


