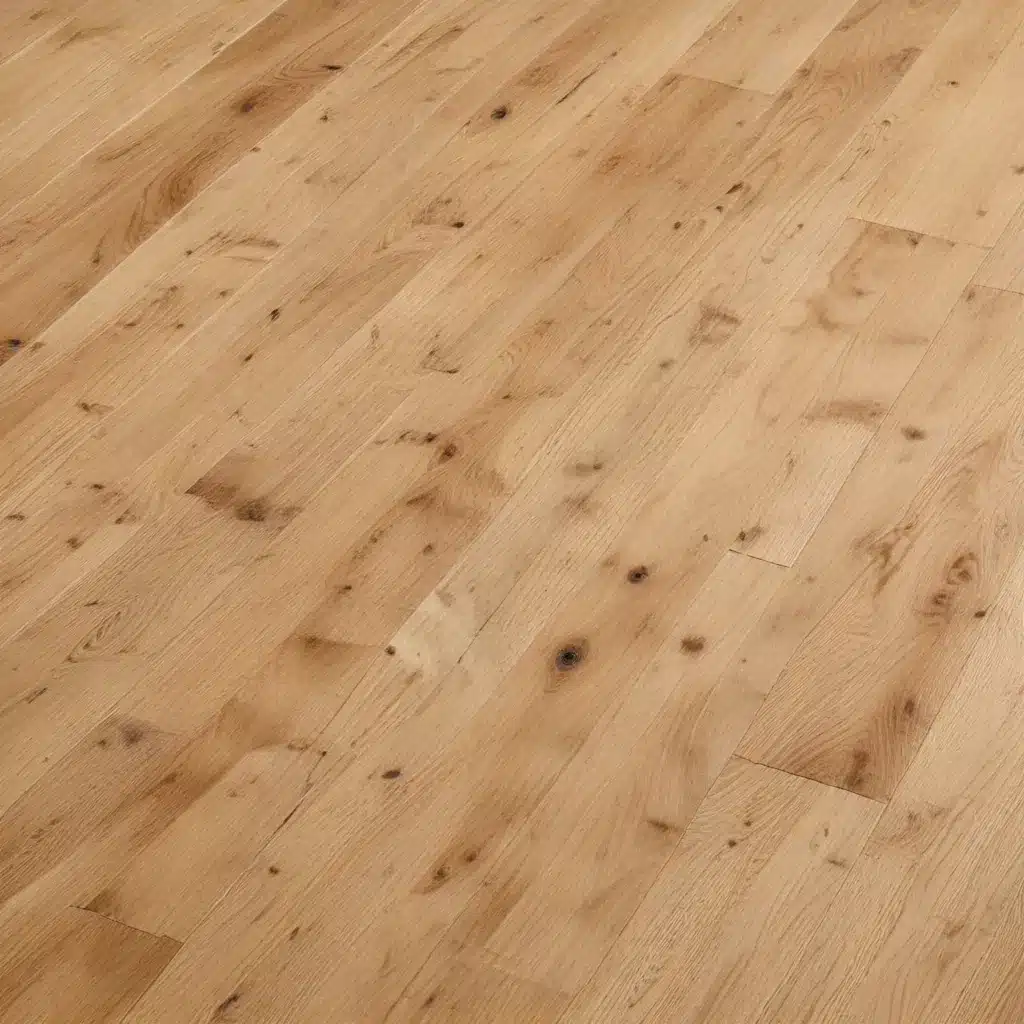
The Art of Preparing and Refinishing Oak Floors
As a seasoned expert in oak flooring, I’m excited to share my insights on how to achieve a professional-grade finish through the processes of sanding and staining. Whether you’re a DIY enthusiast or a homeowner looking to rejuvenate your floors, this comprehensive guide will equip you with the knowledge and techniques to transform your oak surfaces into a work of art.
Importance of Proper Sanding Techniques
The foundation of a flawless oak floor finish lies in the sanding process. Approaching this task with the right tools and techniques is crucial to ensuring a smooth, even surface that can beautifully showcase your chosen stain or topcoat.
Start with the Right Sanding Equipment
For a DIY oak floor refinishing project, a handheld belt sander can be an effective tool for small spaces or isolated areas. However, for larger rooms or whole-home applications, renting a professional-grade drum sander is highly recommended. These powerful machines can efficiently remove multiple layers of existing finish and level uneven boards, preparing the surface for a seamless refinishing process.
Sanding Sequence and Grit Progression
Regardless of the sanding equipment you use, it’s essential to follow a structured sanding sequence. Begin with a coarse 80-grit sandpaper to quickly remove the top layer and any significant imperfections. Gradually work your way up to finer grits, such as 120, 220, and finally, 320-grit, to achieve a silky-smooth finish. The key is to sand evenly across the entire floor, taking the time to ensure every nook and cranny is properly addressed.
Dust Management and Cleanup
Sanding oak floors can create a significant amount of dust, which can be both hazardous to your health and detrimental to the final finish. Use a shop vacuum or a dust collection system in conjunction with your sanding equipment to minimize airborne particles. Thoroughly clean the floor after each sanding session, removing all dust and debris before proceeding to the staining or finishing stage.
Selecting the Right Oak Stain
Once you’ve achieved a flawless, sanded surface, it’s time to explore the world of oak stains. With a wide range of colors and tones available, choosing the perfect stain can seem daunting. However, by understanding the unique characteristics of oak and considering your personal style preferences, you can confidently select a stain that will elevate the natural beauty of your floors.
Embracing the Grain and Character of Oak
Oak is renowned for its distinct and prominent grain patterns, which can present both challenges and opportunities when it comes to staining. Some homeowners prefer a more uniform, minimalist look, while others embrace the natural variations and character of the wood. When selecting a stain, consider whether you want to accentuate the grain or achieve a more muted, even appearance.
Experimenting with Stain Samples
Before committing to a full-floor application, it’s highly recommended to test various stain colors and shades on a small, inconspicuous area or a spare piece of oak flooring. This allows you to see how the stain will interact with the wood and evaluate the final aesthetic before undertaking the entire project. Experiment with different application techniques, such as wiping on or brushing, to determine your preferred method.
Achieving Consistent, Even Coverage
Ensuring even stain coverage is crucial for a professional-looking finish. Apply the stain in sections, following the grain of the wood, and work quickly to maintain a “wet edge” and prevent lap marks. Consider the use of a wood conditioner prior to staining to help the stain absorb more evenly, particularly on highly porous or irregular oak surfaces.
Protecting the Finish with a Topcoat
The final step in creating a professional-grade oak floor finish is the application of a durable topcoat. This protective layer not only enhances the appearance of the stained surface but also safeguards it from wear, tear, and everyday use.
Choosing the Right Topcoat
When it comes to topcoat options, both oil-based and water-based polyurethanes are popular choices for oak floors. Oil-based formulas typically offer a deeper, richer appearance, while water-based alternatives provide a more subtle, natural look. Consider factors like expected foot traffic, desired sheen, and personal preference when selecting the appropriate topcoat.
Applying the Topcoat with Care
Meticulous application is crucial for achieving a smooth, flawless topcoat. Begin by thoroughly cleaning the floor and ensuring it is free of any dust or debris. Apply the topcoat in thin, even layers, using a high-quality applicator tool like a lamb’s wool applicator or a T-bar. Allow each coat to dry completely before applying the next, sanding lightly between coats to ensure a seamless finish.
Maintaining the Oak Floor Finish
Proper maintenance is essential for preserving the beauty and longevity of your refinished oak floors. Regularly clean the floors using a specialized wood cleaner, and avoid using harsh chemicals or abrasive materials. When necessary, consider reapplying a fresh topcoat to revitalize the finish and provide continued protection.
By mastering the art of sanding, staining, and finishing oak floors, you can transform your living spaces and create a timeless, professional-grade aesthetic that will impress both you and your guests. Remember, patience and attention to detail are key when working with this exceptional hardwood species. With the right approach and a little elbow grease, you can achieve the oak floor of your dreams.
For more information on oak flooring selection, installation, and sustainable solutions, be sure to visit Oak Floors Online. Our team of experts is dedicated to helping you create the perfect hardwood flooring experience for your home.


