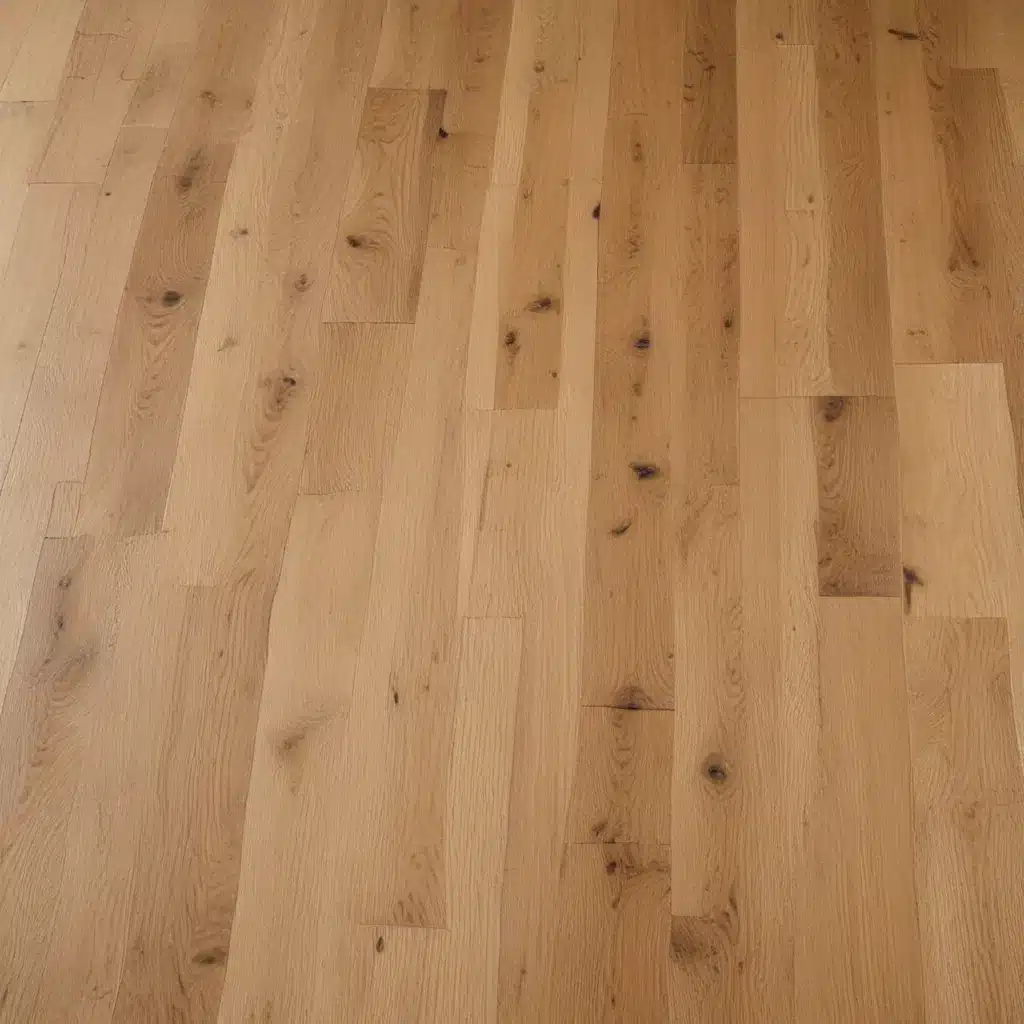
Navigating the Challenges of Mixing Oak Flooring
As a seasoned expert in the world of oak flooring, I’ve encountered many homeowners faced with the daunting task of blending new and old floors. Whether you’re tackling a renovation, an addition, or simply aiming to update the look of your existing oak-clad spaces, achieving a cohesive and seamless aesthetic can be a delicate balancing act. In this comprehensive guide, we’ll explore the nuances of selecting, installing, finishing, and maintaining a harmonious oak flooring solution that stands the test of time.
Understanding Oak Flooring Characteristics
Oak is a beloved hardwood choice for its timeless appeal, durability, and versatility. However, the natural variations in color, grain patterns, and age can pose challenges when trying to seamlessly integrate new and existing oak floors. The key lies in understanding the unique properties of oak and how to leverage them to your advantage.
One of the primary factors to consider is the age and wear of the existing oak flooring. Older floors often develop a richer, warmer tone as the wood matures and interacts with the elements. Newly installed oak, on the other hand, may appear lighter and more uniform in color. This contrast can be jarring if not properly addressed.
Moreover, the width of the oak planks can also play a significant role in the visual harmony of the space. Older homes may feature narrower boards, while modern installations often utilize wider planks. Ignoring these dimensional differences can create an uneven, disjointed appearance.
Selecting Complementary Oak Flooring
When faced with the task of blending new and old oak floors, the first step is to carefully evaluate the existing conditions. Gather samples of the current oak flooring and use them as a guide when selecting new materials. This will help you identify the appropriate color, grain, and plank width that will seamlessly integrate with the existing floors.
One strategy is to opt for an engineered oak flooring product that closely matches the tone and character of the original boards. Engineered floors offer the benefit of dimensional stability, making them less susceptible to warping or cupping over time. Additionally, some manufacturers offer customizable options that allow you to specify the exact color, finish, and plank dimensions to achieve the desired aesthetic.
For situations where an exact match is not possible, consider exploring complementary oak species or finishes that can create a harmonious blend. For example, pairing a warm, honey-toned oak with a slightly cooler, greige-hued oak can result in a visually appealing transition. The key is to ensure that the undertones and overall visual weight of the new and old floors work in harmony.
Preparing and Refinishing Existing Oak Floors
Once you’ve selected the new oak flooring, the next step is to properly prepare the existing surfaces. This may involve light sanding or more extensive refinishing, depending on the condition of the floors.
If the existing oak flooring is in good shape, a light buffing and application of a fresh finish can be sufficient. This approach helps to revitalize the appearance without drastically altering the color or character of the wood. By maintaining the inherent patina of the older floors, you can create a seamless integration with the new oak installation.
In cases where the existing floors require more substantial work, consider a full refinishing process. This involves completely stripping the old finish, sanding the floors down to the bare wood, and then applying a new stain or clear coat. This method allows you to achieve a more uniform appearance across the entire surface, making it easier to blend the new and old oak flooring.
When refinishing, be mindful of the stain color and finish you select. Opt for tones that complement the existing oak, rather than trying to drastically change the hue. A satin or semi-gloss finish can help to unify the visual texture between the new and old floors.
Ensuring Proper Installation and Transitions
Proper installation techniques are crucial when blending new and old oak floors. Pay close attention to the transitions between the different areas, ensuring a seamless and level transition. This may involve the use of transition strips, T-moldings, or carefully fitted wood borders to create a visually cohesive transition.
In cases where the new and old floors are significantly different in thickness, consider using a reducer strip or custom-milled wood transition to bridge the gap. This not only enhances the visual appeal but also helps to prevent tripping hazards.
Maintaining the Oak Flooring Blend
Ongoing maintenance is essential to preserve the integrity and appearance of your blended oak flooring. Establish a regular cleaning and care routine that caters to the specific needs of both the new and old oak surfaces. This may involve using specialized cleaners, applying periodic coats of finish, or implementing specific techniques to address wear and tear.
Regularly inspect the floors for any signs of damage or wear, and address issues promptly to prevent further deterioration. With proper care and attention, your beautifully blended oak floors can continue to shine for years to come.
Embracing the Charm of Mixing Old and New
Ultimately, the art of blending new and old oak flooring lies in understanding the unique characteristics of the material and leveraging them to create a harmonious and visually appealing result. By carefully selecting complementary materials, ensuring proper preparation and installation, and maintaining the floors with care, you can achieve a seamless and timeless look that celebrates the inherent beauty of oak.
Embrace the charm and character of your mixed oak floors, and let them become a unique, personalized expression of your home’s story. With the right approach and a keen eye for detail, you can create a stunning and cohesive flooring solution that will stand the test of time.


