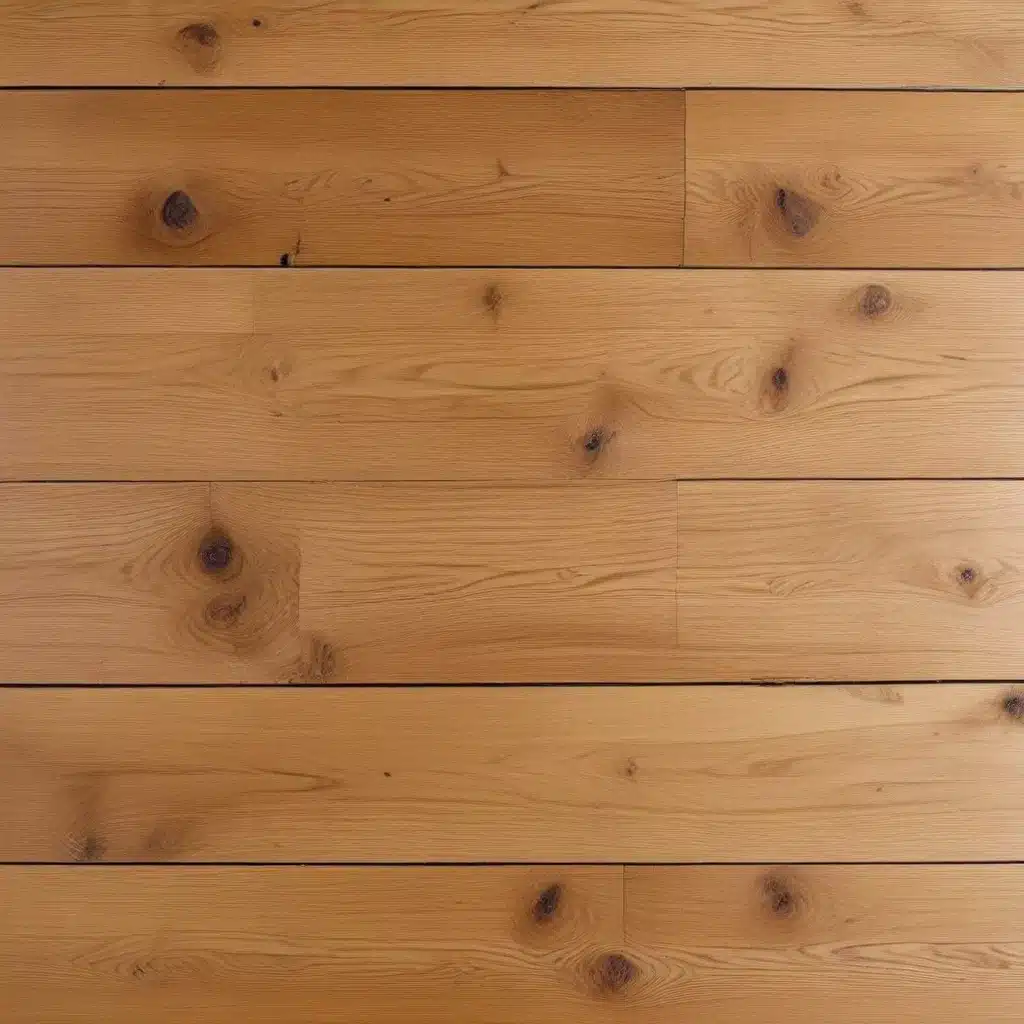
Understanding the Causes of Squeaky Oak Floors
Hardwood floors, including oak, are susceptible to developing annoying squeaks and creaks over time. These unwanted sounds can be caused by a variety of factors, from natural wood movement to subfloor issues and improper installation. As an experienced oak flooring expert, I’m here to guide you through the most common causes of squeaky oak floors and the best repair techniques to silence those pesky noises.
Natural Wood Movement
Oak, like most hardwood species, naturally expands and contracts with changes in temperature and humidity. This movement can lead to gaps forming between the floorboards, allowing them to rub against each other and create squeaks. Seasonal fluctuations in your home’s climate are a primary culprit behind this problem.
Subfloor Imperfections
If the subfloor beneath your oak flooring is uneven, warped, or has gaps between the joists, it can contribute to the development of squeaks. When the subfloor is not properly secured or supported, the floorboards above can shift and rub against each other, resulting in those unwanted noises.
Improper Installation
Improper installation techniques, such as using the wrong fasteners, inadequate spacing between boards, or failing to properly secure the subfloor, can also lead to squeaky oak floors. Ensuring a professional, high-quality installation is crucial for maintaining a squeak-free surface.
Accumulated Debris
Over time, small debris, dust, and other materials can accumulate between the floorboards, creating friction and causing squeaks. This is especially common in high-traffic areas or homes with pets.
Effective Squeaky Oak Floor Repair Techniques
Thankfully, there are several effective techniques you can employ to silence those annoying squeaks in your oak floors. Let’s explore some of the most reliable and DIY-friendly methods.
The Counter-Snap Kit Approach
The Counter-Snap Kit is a specialized tool designed to address squeaks in hardwood floors without damaging the surface. Here’s how to use it:
- Locate the squeaky area and drive the Counter-Snap tool’s screws into the floorboard, ensuring they penetrate the subfloor or joists below.
- Use the tool’s lever to apply downward pressure, snapping the screws and creating a secure connection between the floorboard and subfloor.
- Repeat this process along the length of the squeaky board until the noise is eliminated.
Wood Filler Technique
For minor squeaks, you can try using wood filler to address the problem. Follow these steps:
- Identify the specific board or boards causing the squeak.
- Clean the area thoroughly, removing any debris or dust.
- Apply a small amount of wood filler into the gaps between the boards, ensuring it penetrates any voids.
- Allow the filler to dry completely, then sand the area flush with the surrounding floor.
- Apply a matching stain or finish to blend the repaired area seamlessly.
Talcum Powder or Powdered Graphite
Another simple solution for reducing friction and silencing squeaks is to sprinkle a generous amount of talcum powder or powdered graphite between the squeaky floorboards. This low-cost method can provide a quick and easy fix, though it may require reapplication over time as the powder gets compressed.
Addressing Squeaks from Below
If you have access to the underside of your oak flooring, such as through a basement or crawl space, you can often address the issue from below. This method involves filling any gaps between the subfloor and joists to eliminate the movement that causes squeaks.
One effective tool for this approach is the Squeak-Ender, which is designed to secure the subfloor to the joists without having to access the floor from above. By driving screws through the subfloor and into the joists, the Squeak-Ender effectively eliminates the gaps causing the squeaks.
Preventive Measures and Proactive Maintenance
While addressing existing squeaks is essential, taking proactive steps to prevent them from occurring in the first place is equally important. As an oak flooring expert, I recommend the following measures:
Proper Installation Techniques
When installing new oak flooring, ensure that the subfloor is level, securely fastened, and free of any gaps or imperfections. Use the appropriate fasteners, such as nails or screws, and follow the manufacturer’s recommendations for spacing and expansion allowances.
Maintaining Optimal Humidity Levels
Keeping your home’s humidity levels within the recommended range for hardwood floors (typically 30-50%) can help minimize the natural expansion and contraction of the oak boards, reducing the likelihood of squeaks.
Regular Cleaning and Maintenance
Routinely cleaning your oak floors, removing any accumulated debris, and applying a protective coating, such as a polyurethane finish or oil-based sealant, can help maintain a smooth, squeak-free surface.
When to Call a Professional
While many squeaky oak floor issues can be successfully addressed through DIY methods, there are some situations where it’s best to call in a professional:
- Severe or widespread squeaking throughout the home
- Structural issues with the subfloor or joists
- Concerns about the overall condition or integrity of the oak flooring
- Lack of access to the underside of the floor
- Desire for a comprehensive evaluation and long-term solution
When selecting a professional to address your squeaky oak floor problems, look for experienced contractors with a proven track record in hardwood floor repair and maintenance. They can provide a thorough assessment, identify the root causes, and implement the most effective solutions to restore the quiet, seamless performance of your oak floors.
For more information on maintaining and enhancing your oak flooring, be sure to visit https://www.oakfloorsonline.co.uk/. Our team of experts is dedicated to helping homeowners like you achieve the perfect oak floor for their spaces.


