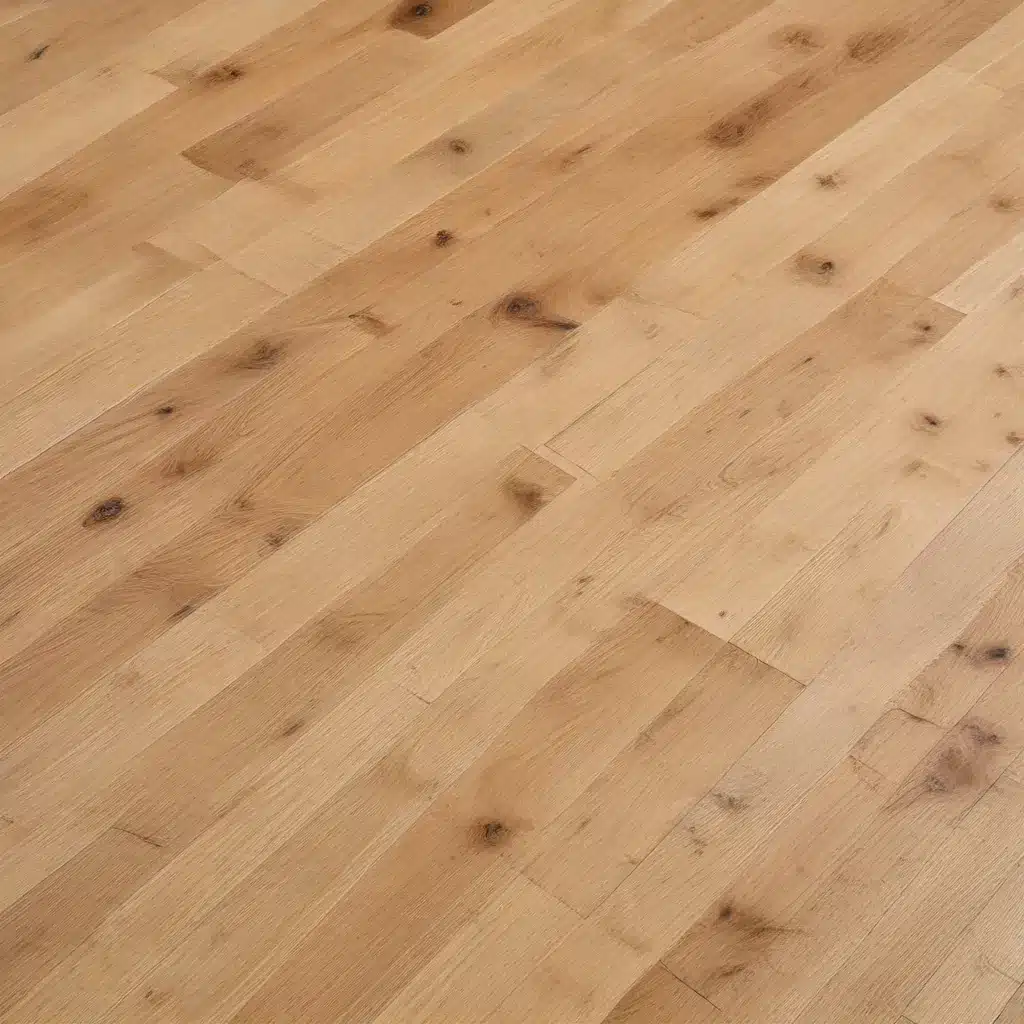
Uncovering the Beauty and Durability of Oak
Oak flooring has long been revered for its timeless elegance, natural resilience, and ability to enhance the ambiance of any space. Whether you’re embarking on a full-home renovation or simply refreshing a single room, installing oak floors can be a transformative undertaking. As a seasoned expert in this field, I’m excited to share my comprehensive guide to mastering the art of DIY oak flooring installation.
Selecting the Right Oak Flooring
The journey begins with choosing the perfect oak flooring for your space. One of the primary considerations is the type of oak – whether you opt for solid oak or engineered oak boards. Solid oak offers a classic, time-honored appearance, while engineered oak combines the beauty of oak with the stability and versatility of a multi-layered construction. Both options have their merits, and the decision often comes down to factors such as subfloor conditions, anticipated foot traffic, and personal aesthetic preferences.
Another crucial element is the oak’s finish. From the rich, warm tones of natural oak to the modern charm of whitewashed or gray-toned options, the finishing touch can dramatically influence the overall aesthetic of your space. Prefinished oak boards, complete with a factory-applied finish, offer a streamlined installation process, while unfinished oak allows for customization with stains, oils, or lacquers after installation.
To ensure a seamless integration with your existing décor, consider the width, plank length, and surface texture of the oak boards. Wider planks can create a sense of grandeur, while longer lengths can enhance the flow of the space. Surface treatments, such as wire-brushing or hand-scraping, can lend a rustic, time-worn charm to your floors.
Preparing for a Successful Installation
Before the installation begins, proper preparation is key to achieving a flawless result. Start by assessing the condition of your subfloor, ensuring it is clean, level, and free of any irregularities that could compromise the integrity of the oak flooring. If necessary, address any subfloor issues, such as uneven surfaces or moisture concerns, to create a solid foundation for your new floors.
Next, acclimate the oak boards to the temperature and humidity levels of the installation environment. This process, which typically takes 3-5 days, allows the wood to adjust to its surroundings, minimizing the risk of dimensional changes or gaps over time. Carefully follow the manufacturer’s instructions for proper acclimation methods.
With the subfloor and oak boards prepared, it’s time to consider the installation method. Floating floors, where the boards are clicked or locked together without being fastened to the subfloor, offer a quick and easy DIY-friendly option. Nail-down or glue-down installations, on the other hand, provide a more permanent and secure solution, but may require specialized tools and skills.
Mastering the Installation Techniques
Regardless of the installation method you choose, attention to detail and proper techniques are essential for achieving a professional-grade result. Begin by laying a suitable underlayment, which acts as a moisture barrier and cushions the oak boards. Carefully plan the layout, ensuring your first row is straight and subsequent rows are staggered for a visually appealing pattern.
For floating floors, the process typically involves clicking or locking the boards together, often with the aid of a tapping block and hammer. Ensure a tight fit between the boards to prevent gaps. For nail-down or glue-down installations, utilize the appropriate fasteners or adhesives, and be mindful of expansion gaps around the perimeter of the room.
As you progress, maintain consistent expansion gaps around the edges, doorways, and fixed objects. These gaps allow the wood to naturally expand and contract with changes in temperature and humidity, preventing potential warping or buckling. Thoughtful placement of transition moldings and trim will seamlessly integrate your new oak floors with the surrounding environment.
Finishing Touches and Maintenance
The final step in your DIY oak flooring journey is the application of the appropriate finish. Oil-based and water-based polyurethanes are popular choices, offering varying levels of protection, sheen, and ease of application. Carefully follow the manufacturer’s instructions to ensure a durable, long-lasting finish.
Once your floors are installed and finished, proper maintenance is crucial to preserving their beauty and longevity. Develop a routine cleaning regimen, utilizing approved cleaning products and techniques to prevent scratches, stains, and excessive wear. Periodically, you may need to re-coat the floors with a fresh layer of finish to renew their protective qualities.
For added sustainability and comfort, consider the benefits of underfloor heating systems. These innovative solutions seamlessly integrate with your oak floors, providing efficient, energy-saving radiant heat. By carefully planning the installation and selecting compatible heating systems, you can enjoy the best of both worlds – the timeless elegance of oak and the cozy warmth of underfloor heating.
Embracing the DIY Mindset
The journey of installing oak flooring may seem daunting at first, but with the right guidance and a confident DIY mindset, it can be an immensely rewarding experience. By meticulously following best practices, leveraging expert tips, and taking the time to understand the process, you can transform your space with the timeless beauty of oak floors.
Remember, the satisfaction of a job well done and the pride of having created a stunning, custom-tailored interior will make the effort well worth it. Embrace the journey, trust in your abilities, and let your passion for DIY projects guide you to oak flooring perfection.
To get started on your own oak flooring project, I encourage you to visit Oak Floors Online to explore their extensive selection of quality oak products and resources. Their team of experts is always ready to provide personalized guidance and support to ensure your DIY oak flooring installation is a resounding success.


